


This article is part of CAN Bus Embedded Development, my growing online book about practical CAN Bus hardware, software, and embedded system development.
View the complete Table of Contents →
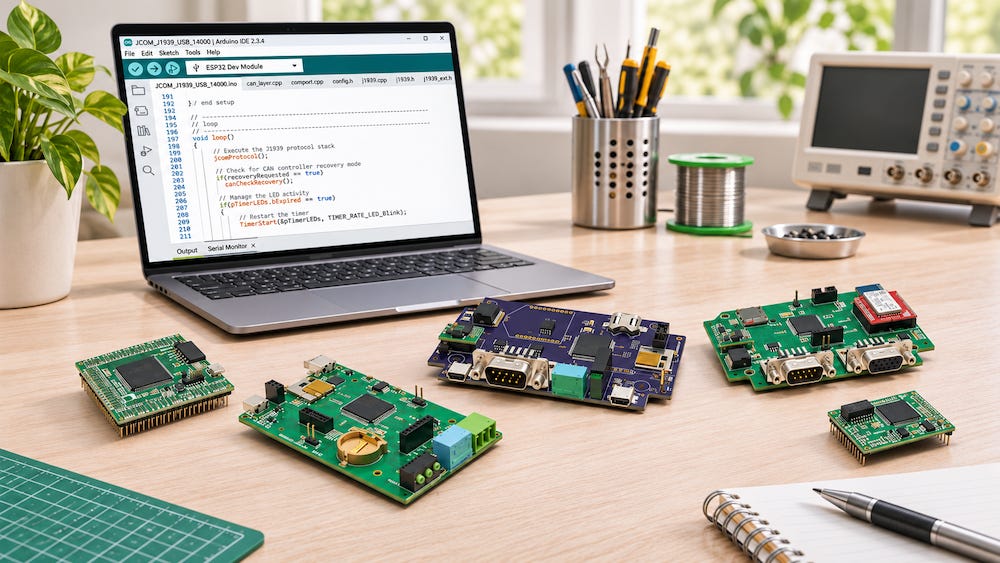
As I explained in the earlier chapter on programming environments, I chose the Arduino IDE for this book because it lets me get a board running quickly and use the same development workflow across several hardware platforms. I can write a sketch, compile it for the selected board, upload it, and check its output in the Serial Monitor. The Arduino ecosystem also offers a large collection of libraries and examples. When I bring up a CAN interface for the first time, I can start with a small sketch that sends or receives a frame and build from there.
One IDE, four hardware groups
In the chapters that follow, I’ll focus on selected boards from four popular groups:
Arduino
Teensy
STM32
ESP32
All four can be programmed with the Arduino IDE. Teensy support comes from PJRC’s Teensy board package, STM32 support from STM32duino, and ESP32 support from Espressif. These packages give the IDE the tools and settings it needs to compile and upload code for each target.
The workflow stays familiar as you move from one board to another. The CAN hardware still determines what you need to connect and how you initialize it. For example, one board may have a built-in CAN controller that needs an external transceiver, while another may use an external CAN controller connected over SPI. I’ll cover those details with the boards and examples that use them.
I’ve spent much of my embedded development career working with ARM Cortex-based microcontrollers, including NXP devices with the MCUXpresso IDE. That combination remains an excellent choice, especially when a project calls for close control of the hardware and extensive debugging. Covering every platform and its development tools would take this book well beyond CAN bus programming. A common IDE lets me spend more time on the CAN interface, the firmware, and what happens on the bus.
Debugging with the Arduino IDE
Debugging is where the Arduino experience varies most from one board to another. The Serial Monitor is often enough to print received CAN frames, report controller status, or see which path the program took. When a program hangs, however, a hardware debugger lets you pause execution, step through the code, and inspect variables while the program is stopped. Arduino IDE 2 includes a debugger, but whether you can use it depends on the board and its installed board package. Some setups also require a separate debug probe.
The ESP32-S3 is an example of what newer hardware makes possible. With a compatible board definition in Espressif’s Arduino package, Arduino IDE 2 can use the chip’s built-in USB Serial/JTAG interface for source-level debugging. You can set breakpoints, step through the sketch, and inspect variables. If the board exposes the chip’s native USB connection, you can do this over a USB data cable without a separate JTAG probe. On boards with two USB connectors, use the native USB connector for this purpose.
Where the Raspberry Pi fits
I’ll also cover the Raspberry Pi single-board computer in a later chapter. It has a different development workflow because the application runs under Linux. You can write, run, and debug programs on the Pi itself using tools available in Raspberry Pi OS. Thonny, for example, provides an editor and debugger for Python. For CAN development, this means that an application can work with a CAN interface through Linux’s SocketCAN subsystem, which presents the interface much like other network interfaces.
Installing the Arduino IDE
For the initial installation, follow Arduino’s official guide for Windows, macOS, or Linux.
Downloading and installing the Arduino IDE 2
When I introduce each board in a later chapter, I’ll show you how to install its support package where needed, select the correct board and upload settings, and verify the setup by compiling and uploading a test sketch.
Programming Arduino: Getting Started with Sketches

Learn to program Arduino boards from scratch, one sketch at a time.
In Programming Arduino®: Getting Started with Sketches, Third Edition, Simon Monk walks you through setting up your board, writing your first sketch, and building projects that use displays, store data, and connect to the Internet. The guide assumes no prior programming experience and teaches the basics of C and C++ as used in Arduino sketches through clear explanations, illustrations, and dozens of examples you can run as written or adapt to your own projects.
This edition also shows how to use the Arduino programming environment with popular boards such as the ESP32, Raspberry Pi Pico, and BBC micro.
Set up your board and write, upload, and run sketches using the Arduino IDE.
Organize your code with functions and work with arrays and strings.
Read digital and analog inputs and control outputs.
Use built-in Arduino libraries and create your own.
Store data in EEPROM or flash memory.
Connect and control displays, including LCDs.
Connect your board to the Internet and set it up as a web server.
Build practical Internet of Things (IoT) projects.